3. Data Acquisition and Manipulation
3 minute read
The United Manufacturing Hub has several simulators. These simulators simulate different data types/protocols such as MQTT, PackML or OPC/UA. In this chapter we will take the MQTT simulated data and show you how to format it into the UMH data model.
Creating Node-RED flow with simulated MQTT-Data
Access the Node-RED Web UI. To do this, click on the service and forward the port as shown below. Once the UI opens in the browser, add
noderedto the URL to avoid the cannot get error.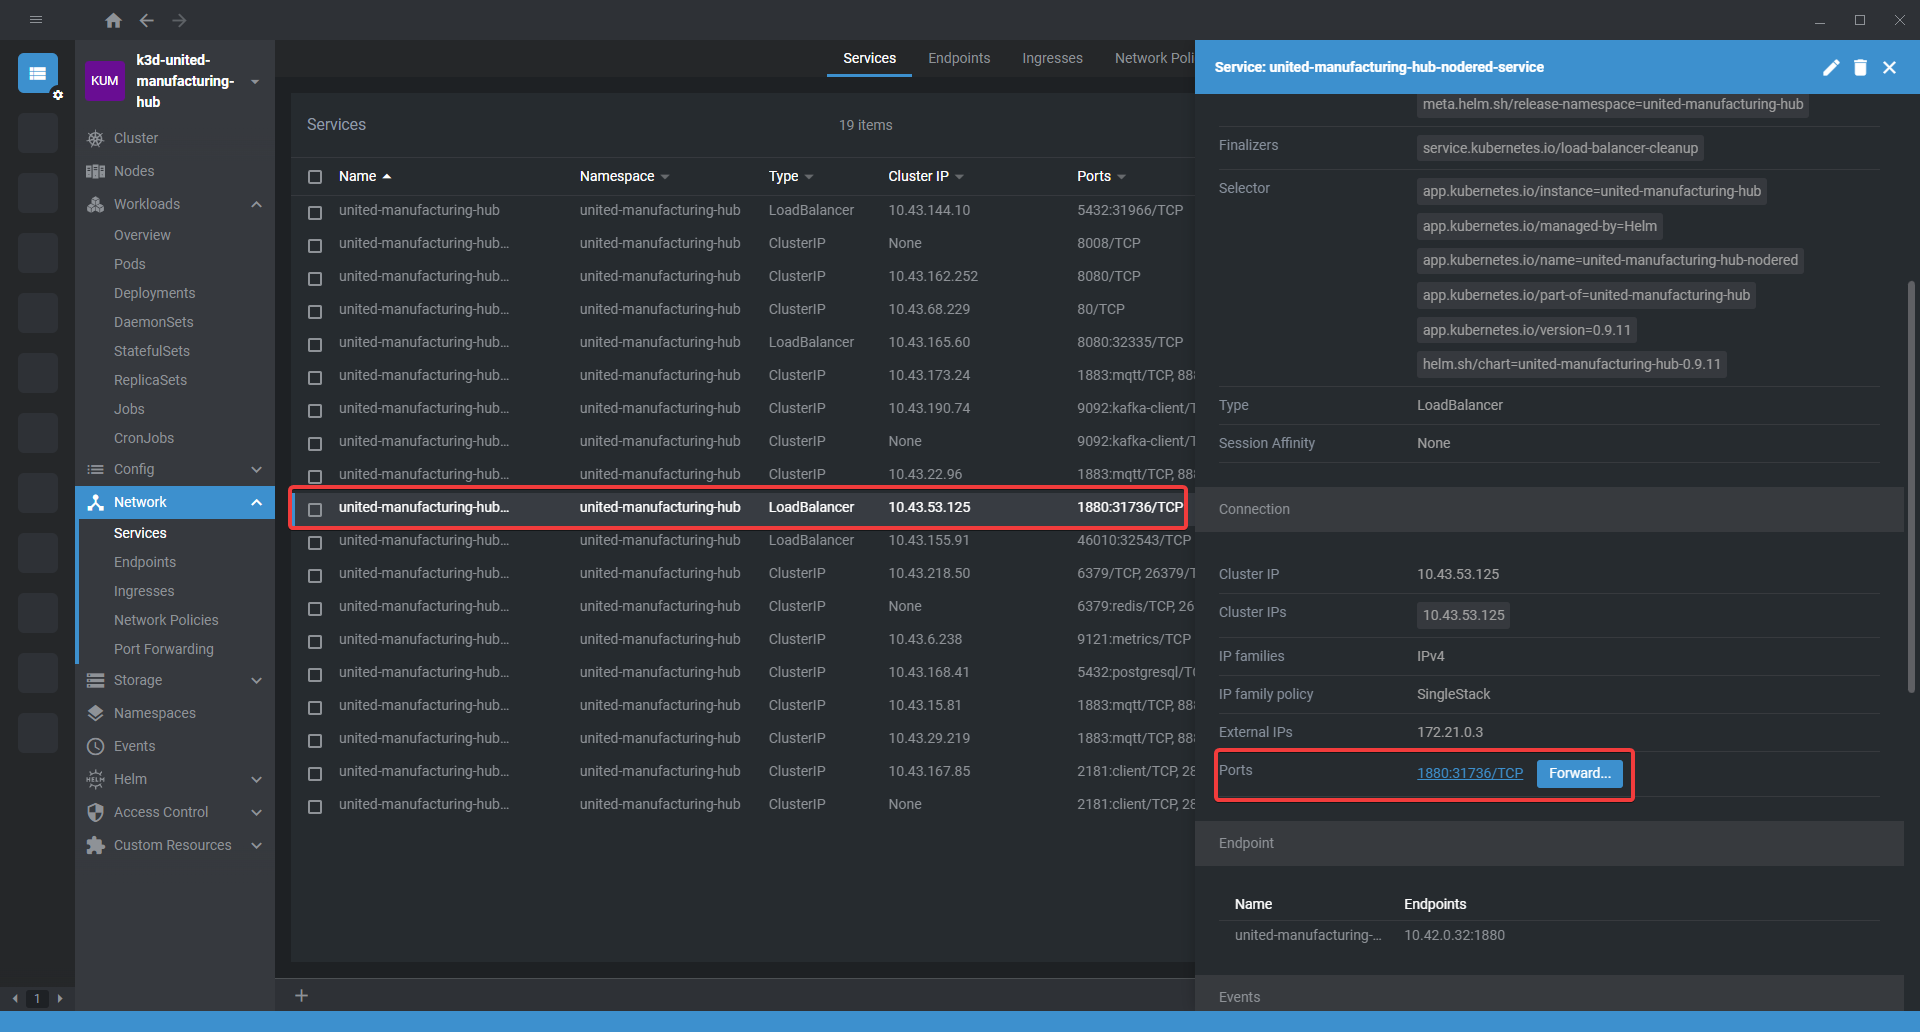
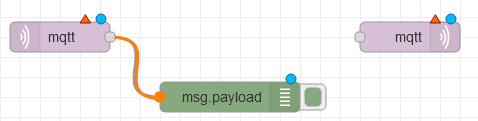
From the left-hand column, drag a mqtt-in node, a mqtt-out node, and a debug node into your flow.
Connect the mqtt-in and to the debug-node.
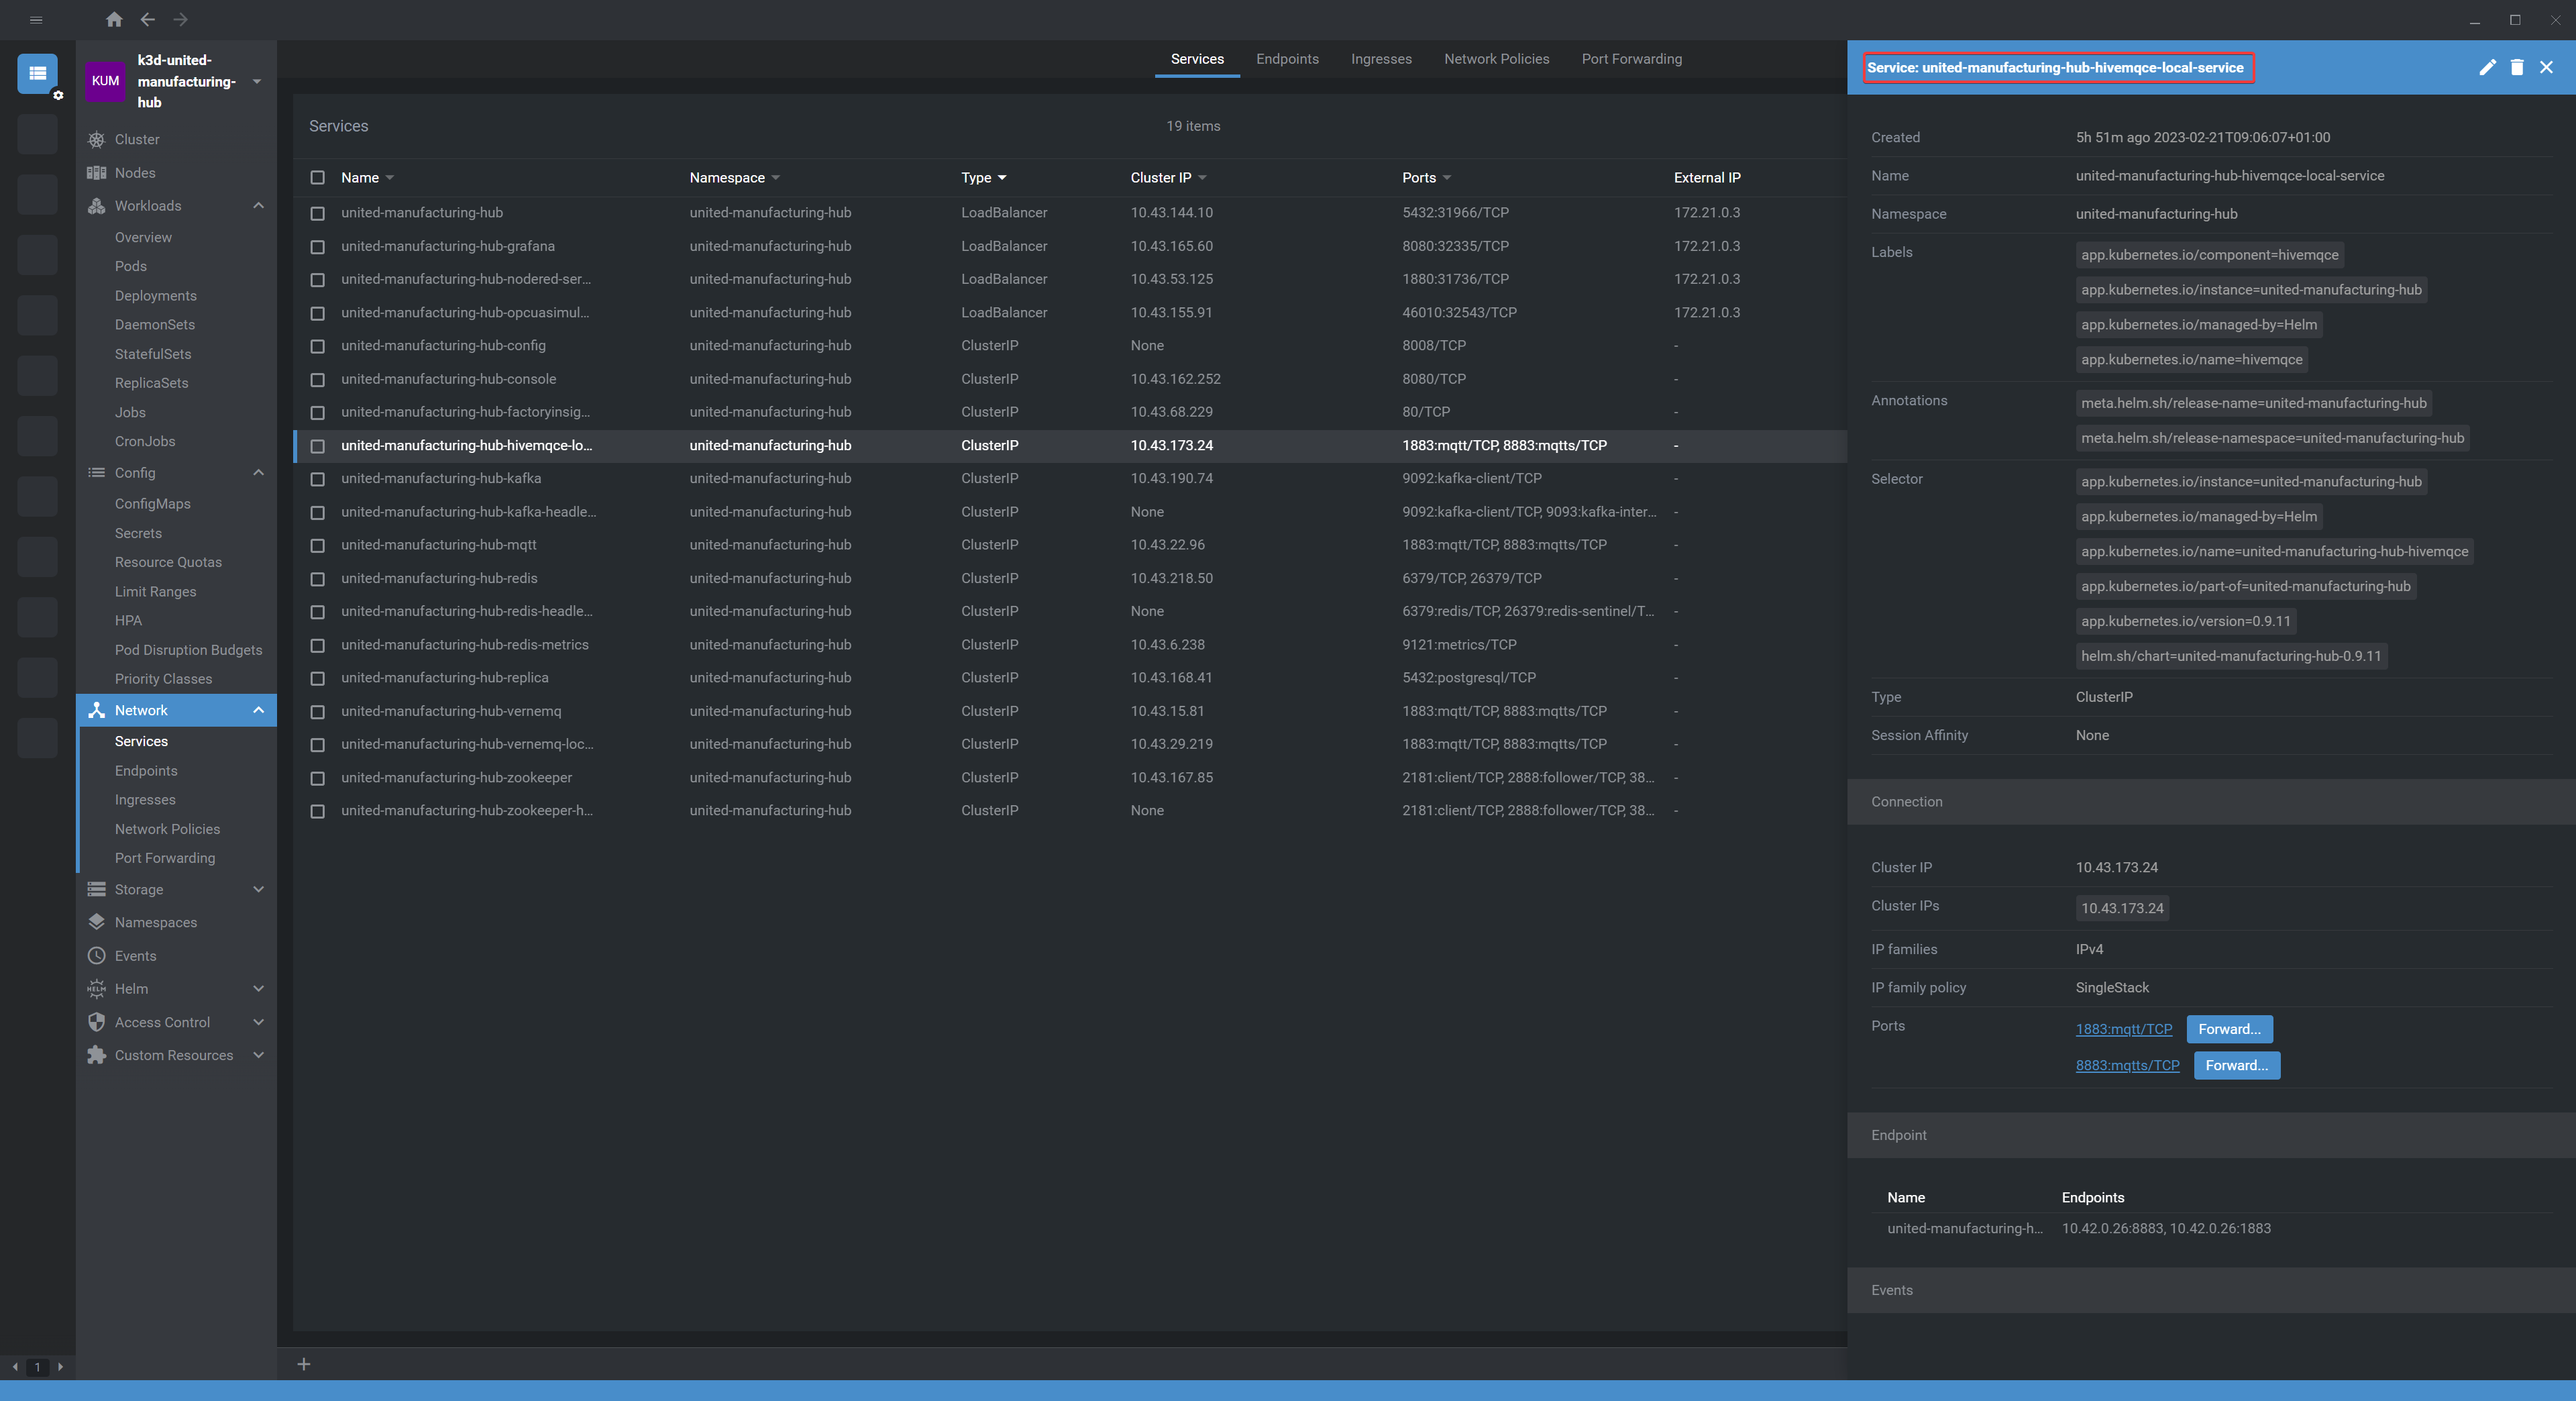
Double-click on the mqtt-in node and add a new MQTT broker. To do so, click on Edit and use the service name of HiveMQ as the host (located in UMHLens under services -> name). Leave the port as autoconfigured and click on Add to save your changes.
To view all incoming messages from a specific topic, type
ia/#under Topic and click on Done.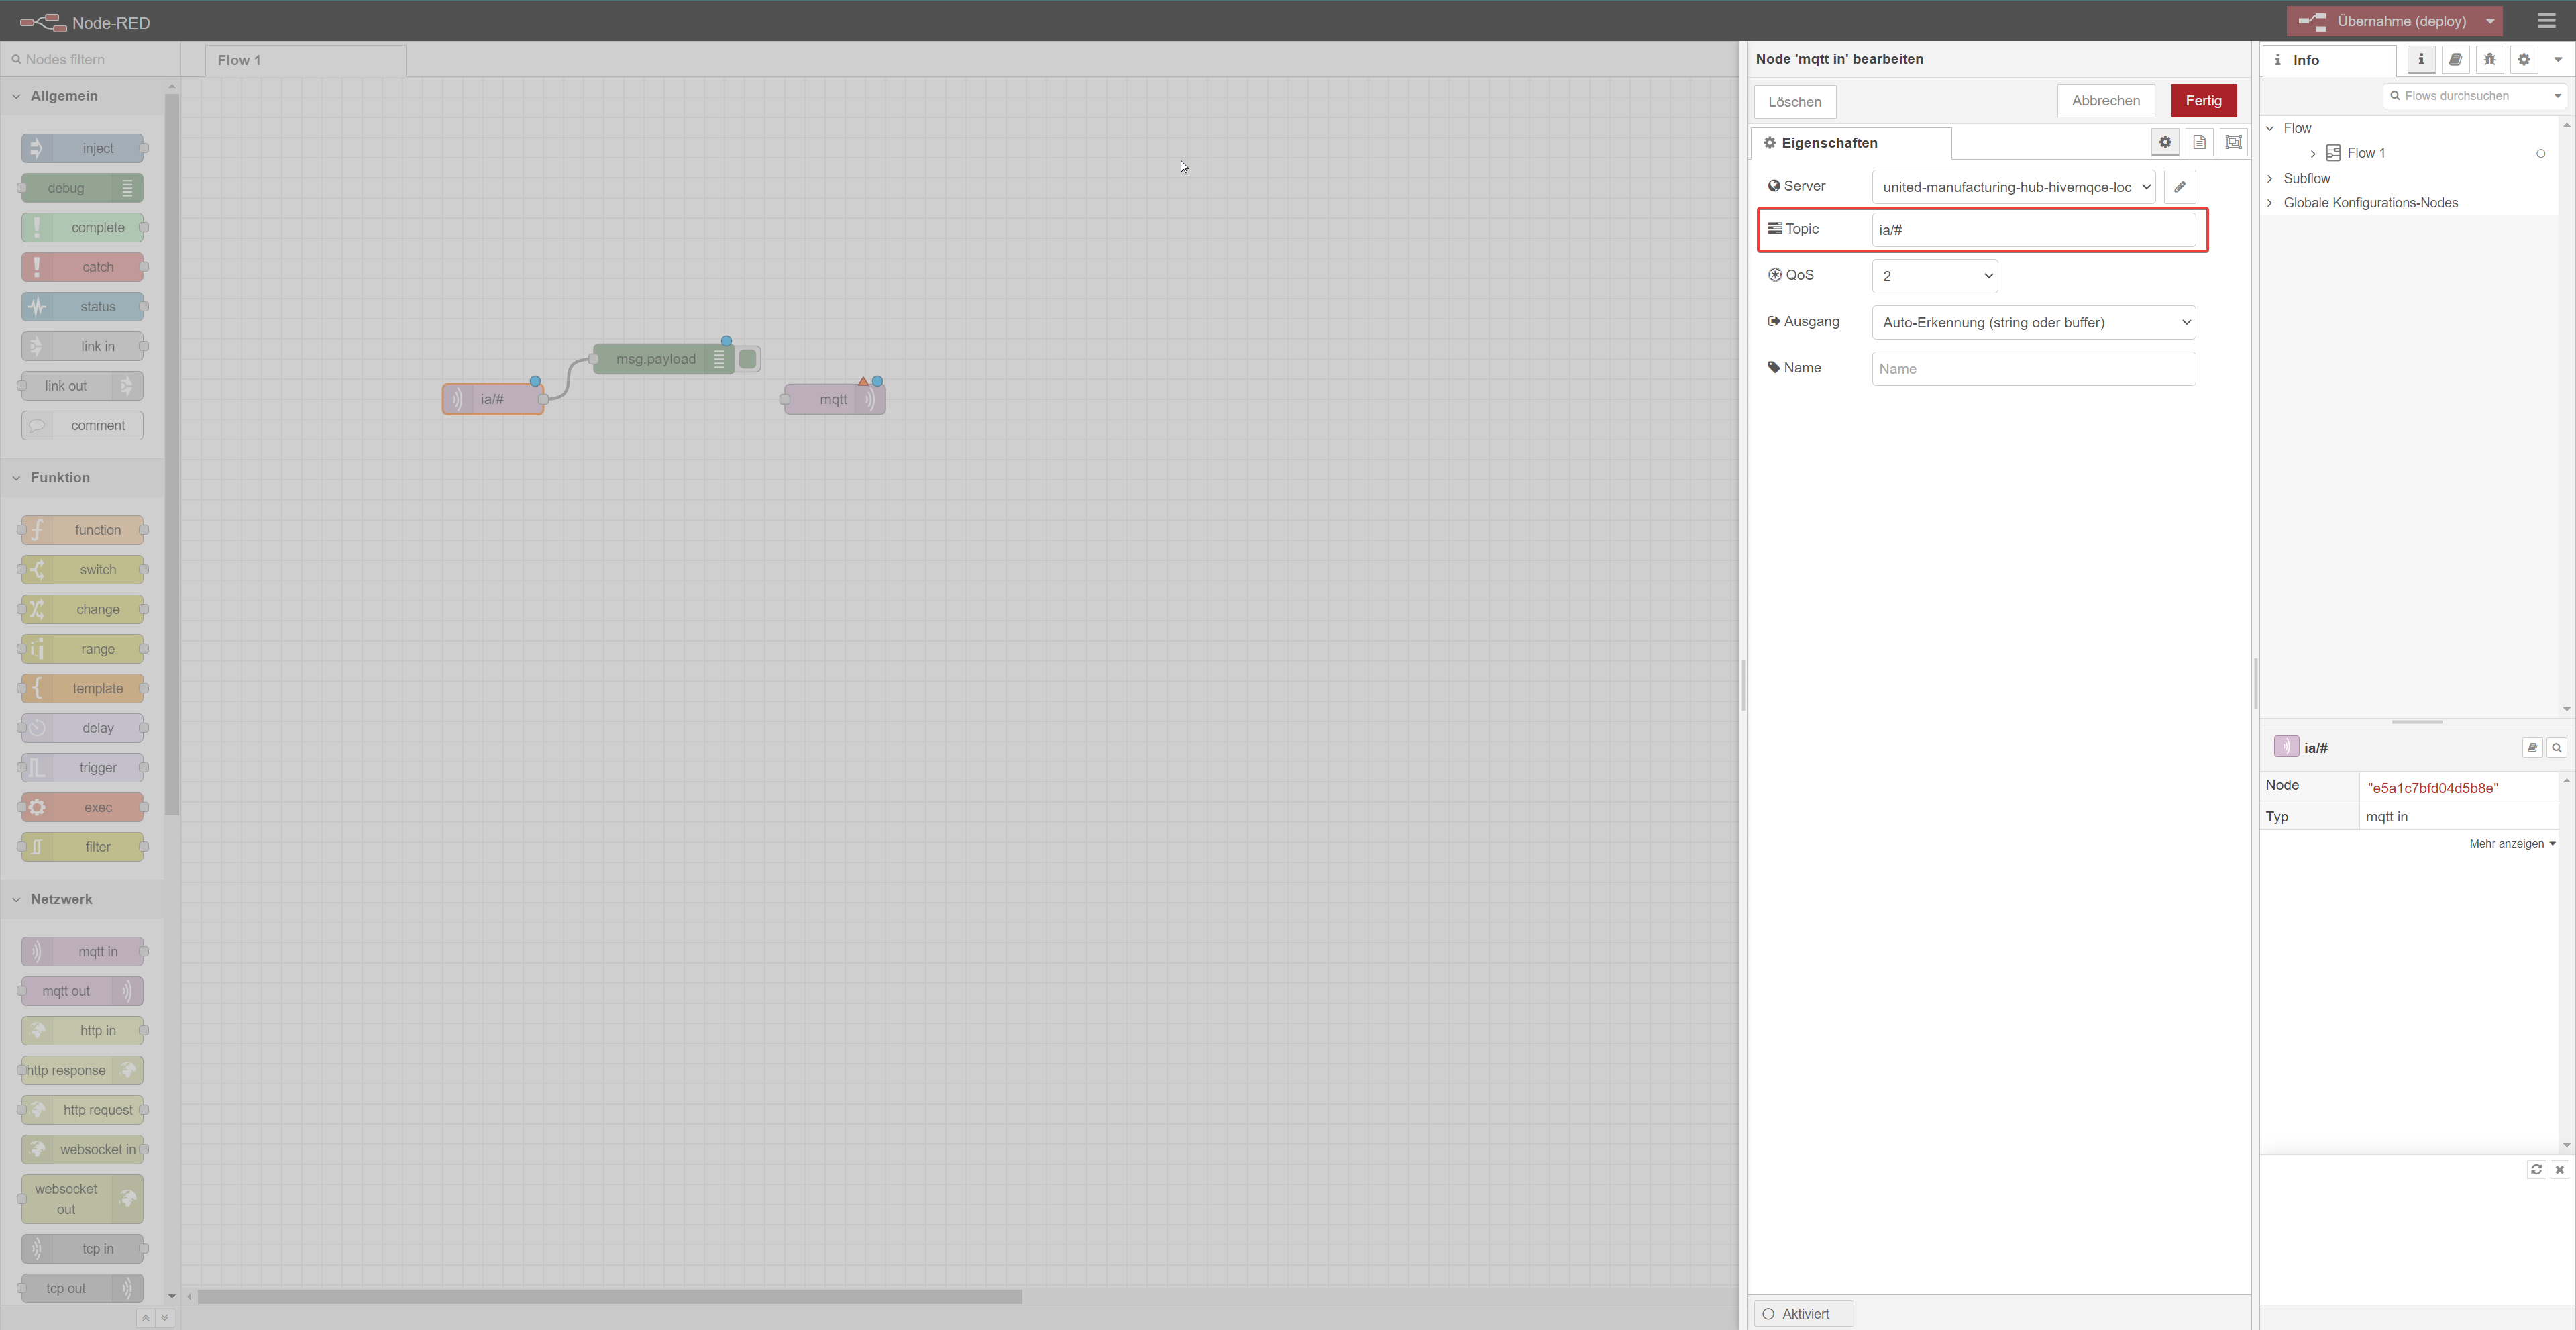
To apply the changes, click on Deploy located at the top right of the screen. Once the changes have been deployed, you can view the debug information by clicking on Debug-Messages located under Deploy.
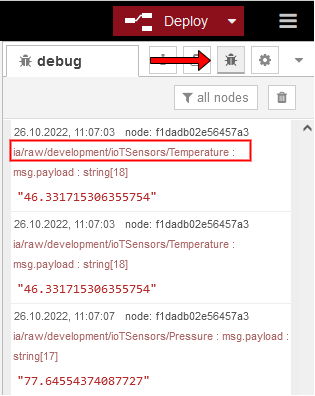
In this column, you can view all incoming messages and their respective topics. The incoming topics follow this format:
ia/raw/development/ioTSensors/. For the purpose of this tutorial, we will be using only the temperature topic, but feel free to choose any topic you’d like. To proceed, copy the temperature topic (ia/raw/development/ioTSensors/Temperature), open the mqtt-in node, paste the copied topic in the Topic field, click on Done, and then press Deploy again to apply the changes.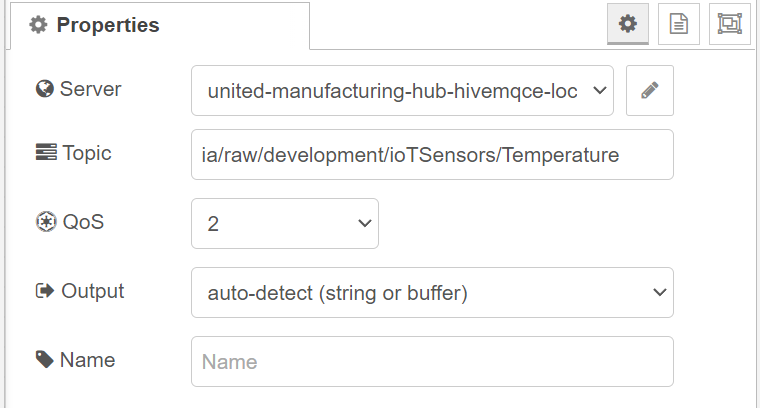
To format the incoming message, add a **JSONÜÜ node and a Function node to your flow. Connect the nodes in the following order: mqtt-in → JSON → Function → mqtt-out.

Open the function node and paste in the following:
msg.payload ={

    "timestamp_ms": Date.now(),
    "temperature": parseFloat(msg.payload, 10)
}
msg.topic = "ia/factoryinsight/Aachen/testing/processValue";
return msg;
We are creating a new object (array) with two keys timestamp_ms and temperature and their corresponding value Date.now() and parseFloat(msg.payload,10).
The parseFloat function converts the incoming string into a float with the base 10 and the Date.now() creates a timestamp.
We also created a msg.topic for the mqtt-out node, which will automatically apply this topic.
The topic ends with the key processValue which is used whenever a custom process value with unique name has been prepared. The value is numerical. You can learn more about our message structure here.
Add another mqtt-in node to your flow, and set the topic to
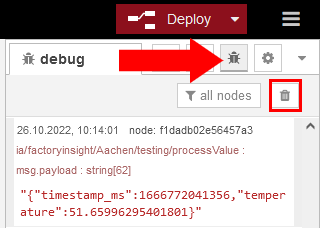
ia/factoryinsight/Aachen/testing/processValue. Make sure to select the created broker. Connect a debug node to the new mqtt-in node, and then click on Deploy to save the changes.
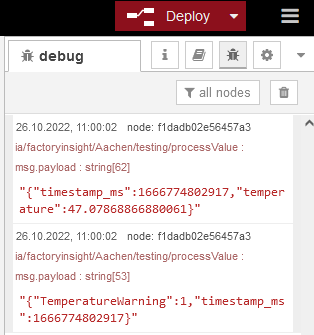
You should now see the converted message under Debug-messages. To clear any previous messages, click on the trash bin icon.
Congratulations, you have successfully converted the incoming message and exported it via MQTT. However, since we are currently only exporting the temperature without actually working with the data, let’s create a function that counts the critical temperature exceedances.
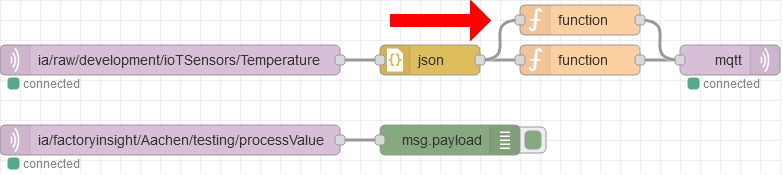
Drag another function-node into your flow, open it and navigate to On Start.
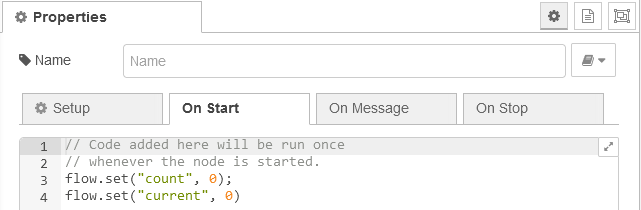
Paste in the following code, which will only run on start:
flow.set("count", 0);
flow.set("current", 0)
Then click on On-Message and paste in the following and click done:
flow.set("current",msg.payload);
if (flow.get("current")>47){
    flow.set("count", flow.get("count")+1);
    msg.payload = {"TemperatureWarning":flow.get("count"),"timestamp_ms":Date.now()}
    msg.topic = "ia/factoryinsight/Aachen/testing/processValue";
    return msg;
}
The pasted in code will work as shown in the diagram below.

Finally, connect the function-node like shown below and click on deploy.
If the incoming value of temperature is now greater than 47, you will see another message consisting of TemperatureWarning and a timestamp in debug-messages.
What’s next?
In the next chapter we will use Grafana to display the formatted data. Click here to proceed.